To make a custom calendar, start with an image in the Workspace or Album.
Click on the Express button in the Command panel. The Toolbar will change to reflect the Express command options.
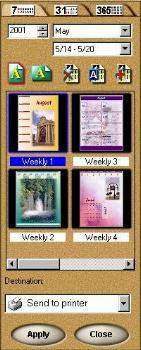
Click on the Calendar button on the Toolbar. The Calendar options will be displayed in the Options panel.
In the Options panel to the right, choose between Weekly, Monthly or Yearly by clicking on the tabs along the top. Below the tabs, choose the year, month and days depending on the type of calendar selected with the drop-down buttons.
Choose portrait or landscape orientation.
These buttons are for deleting, changing or adding calendar templates.
As you click on each different calendar template, your image will be displayed as that calendar in the workspace. There is a scrollbar on the lower half of the Calendar options to scroll through all of the different calendars.
After the calendar is selected, there are several output choices:
Send to Printer prints the calendar
Save to disk allows you to save a copy of your calendar.
Set as wallpaper makes the calendar your Windows wallpaper.
Copy to Clipboard copies the calendar to the Windows clipboard, allowing you to paste it into other applications.
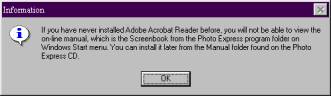
6. On the "Information" screen, click "Next"
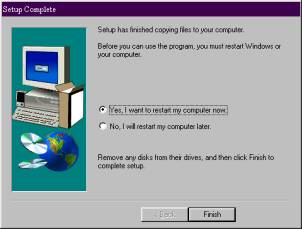
7. On the "Setup Complete" screen, click "Finish".









 The Toolbar will change to reflect the Express command options.
  The Calendar options will be displayed in the Options panel.
 are for deleting, changing or adding calendar templates.