|
Step 1: Unpack
the Scanner and software from the box. Make sure the package
has all the
provided items.
1. The scanner
2. Scanner Cable
3. Power Adapter
4. 1200 CP Scanner
Installation Guide
5. Installation
CD
Step 2: After
you have checked the package, turn on your PC and open your
CD-ROM drive
door.
1. Insert the
installation CD into your CD-ROM drive.
2. Follow the
on-screen instructions.
Note: If, after
inserting the Installation CD into your CD-ROM drive the
installation
Welcome screen does not appear, do the following:
1. Click on
"START" and then select "RUN".
2. In the "RUN"
dialog box, type drive:run, where drive is your CD-ROM
drive letter,
and click "OK".
Step 3: Follow
the ON-SCREEN instructions.
1.
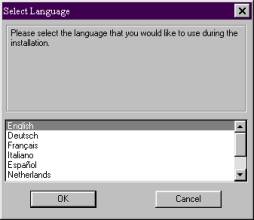
On the "Selecting Language" screen, choose English and
click "OK".
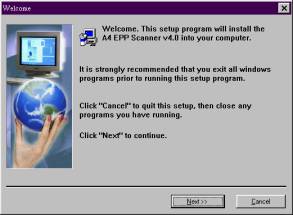
2. On the "Welcome"
screen, click "Next".
3. On the "Choose
the Destination Location to be Installed" screen, make
sure it says:
"C:Program Files1200CP" and click "Next" (Note:
Do not
change anything here.)
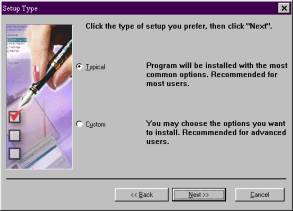
4. On the "Setup Type" screen, select typical and then
click "Next".
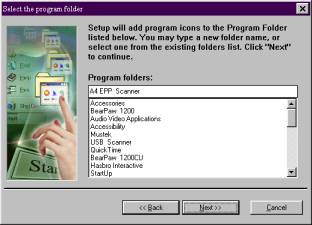
5. On the "Select
the Program Folder" screen, make sure that
"A4 EPP
Scanner" is selected, click "Next". (Note: Do not
change anything
here.)
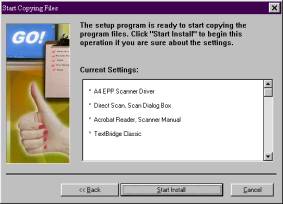
6. On the "Start
Copying Files" screen, click "Start Install".
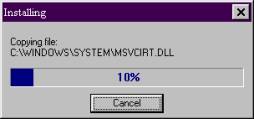
7. The "Installing" screen shows the progress of the installation.
8. The "TextBridge
Classic" screen is the splash screen for the
installation.
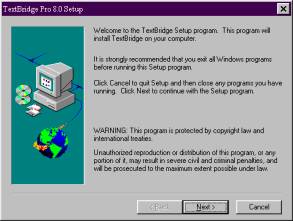
9. On the "TextBridge Classic 2.0 Setup" screen, click
"Next".
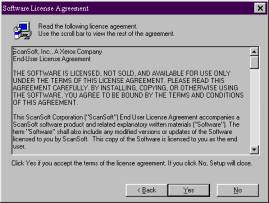
10. On the "Software
License Agreement" screen, click "Yes".
11. On the "Setup
Installation Type" screen, click the "Destination
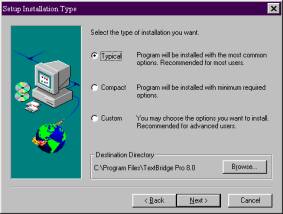
Directory", then click "Next".
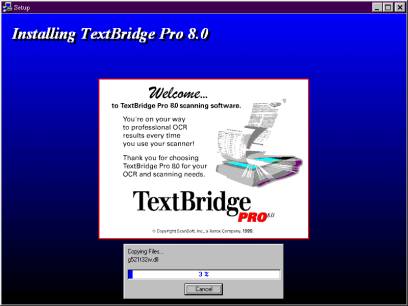
12. The "Copying
Files" screen shows the progress of the installation.
13. On the "TextBridge
Classic 2.0" screen, click "Next".

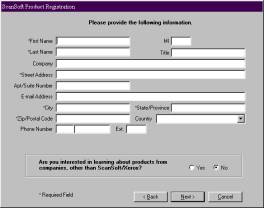
14. On the "ScanSoft Product Registration" screen, click
"Cancel".
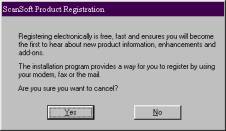
15. On the next "ScanSoft Product Registration" screen,
click "Yes".
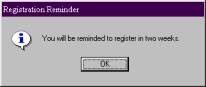
16. On the "Registration Remind" screen, click "OK".
Step 4: Adding
1200 CP to the "Scanners and Cameras" section.
1.
On the "Scanners and Cameras Properties" screen,
click "Add".
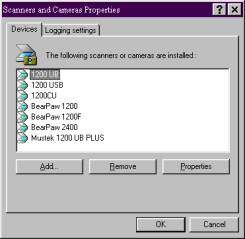
2. On the "Scanners
and Cameras Installation Wizard" screen, click on
"Next".
3. On the next
"Scanners and Cameras Installation Wizard" screen, select
"Scanner"
from the "Manufacturers:" list, click on "Next".
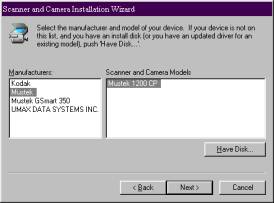
4. On the next
"Scanners and Cameras Installation Wizard" screen, select
"Printer
Port (LPT1)", click on "Next".
5. On the next
"Scanners and Cameras Installation Wizard" screen make
sure it says:
"A4 EPP Scanner" and click "Next" (Note: Do
not
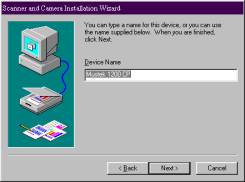
change anything
here.)
6. On the "Scanners
and Cameras Installation Wizard" screen, click on
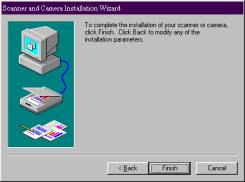
"Finish".
7. On the "Scanners
and Cameras Properties" screen, click "OK".
Photo Express
2.0 SE Installation Walk-Through
Step 5: Have
your PC turned on and open your CD-ROM drive door.
1. Insert the
installation CD into your CD-ROM drive.
2. Follow the
on-screen instructions.
Note: If after
inserting the Photo Express CD into your CD-ROM drive the
installation
Welcome screen does not appear, do the following:
1. Click on
"START" and then select "RUN".
2. In the "RUN"
dialog box, type drive:run where "DRIVE" is your CD-ROM
drive letter
and click "OK"
Step 6: Installing
your Photo Express 2.0 CD.
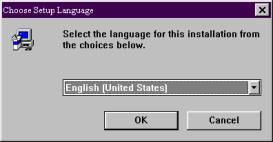
1.
On the "Choose Setup Language" screen, choose
English then click "OK".
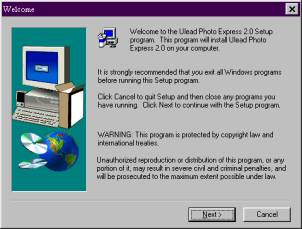
2. On the "Welcome"
screen, click "Next"
2.
On the "Select Scheme" screen, click "Next"
3.
On the "Start Copying Files" screen, click "Next".
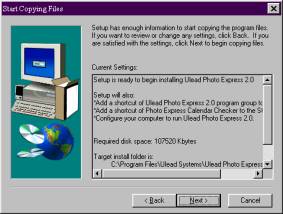
5. On the "Setup"
screen, uncheck the first two and leave the last one
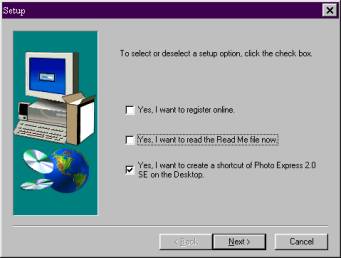
checked, then click "Next".
6. On the "Information"
screen, click "Next"
7. On the "Setup
Complete" screen, click "Finish".
—————————————————————————
|